How to deploy and undeploy your app

Magic Containers offers two deployment options for your applications: Magic, Single region and Advanced. With Magic Containers, you can deploy your apps globally with minimal effort. Advanced option gives you full control over provisioning settings, allowing you to select specific regions for deployment and manage the deployment of your app based on user activity.

What you'll need

Before you dive in, make sure you have the following prerequisites in place:
  • A bunny.net account (Log in or sign up for a free trial).
  • An accessible image from either Docker or Github. You may also have a private container registry set up via GitHub or Docker. You will need to integrate this registry with the Magic Containers platform. You can find details to link your registry here


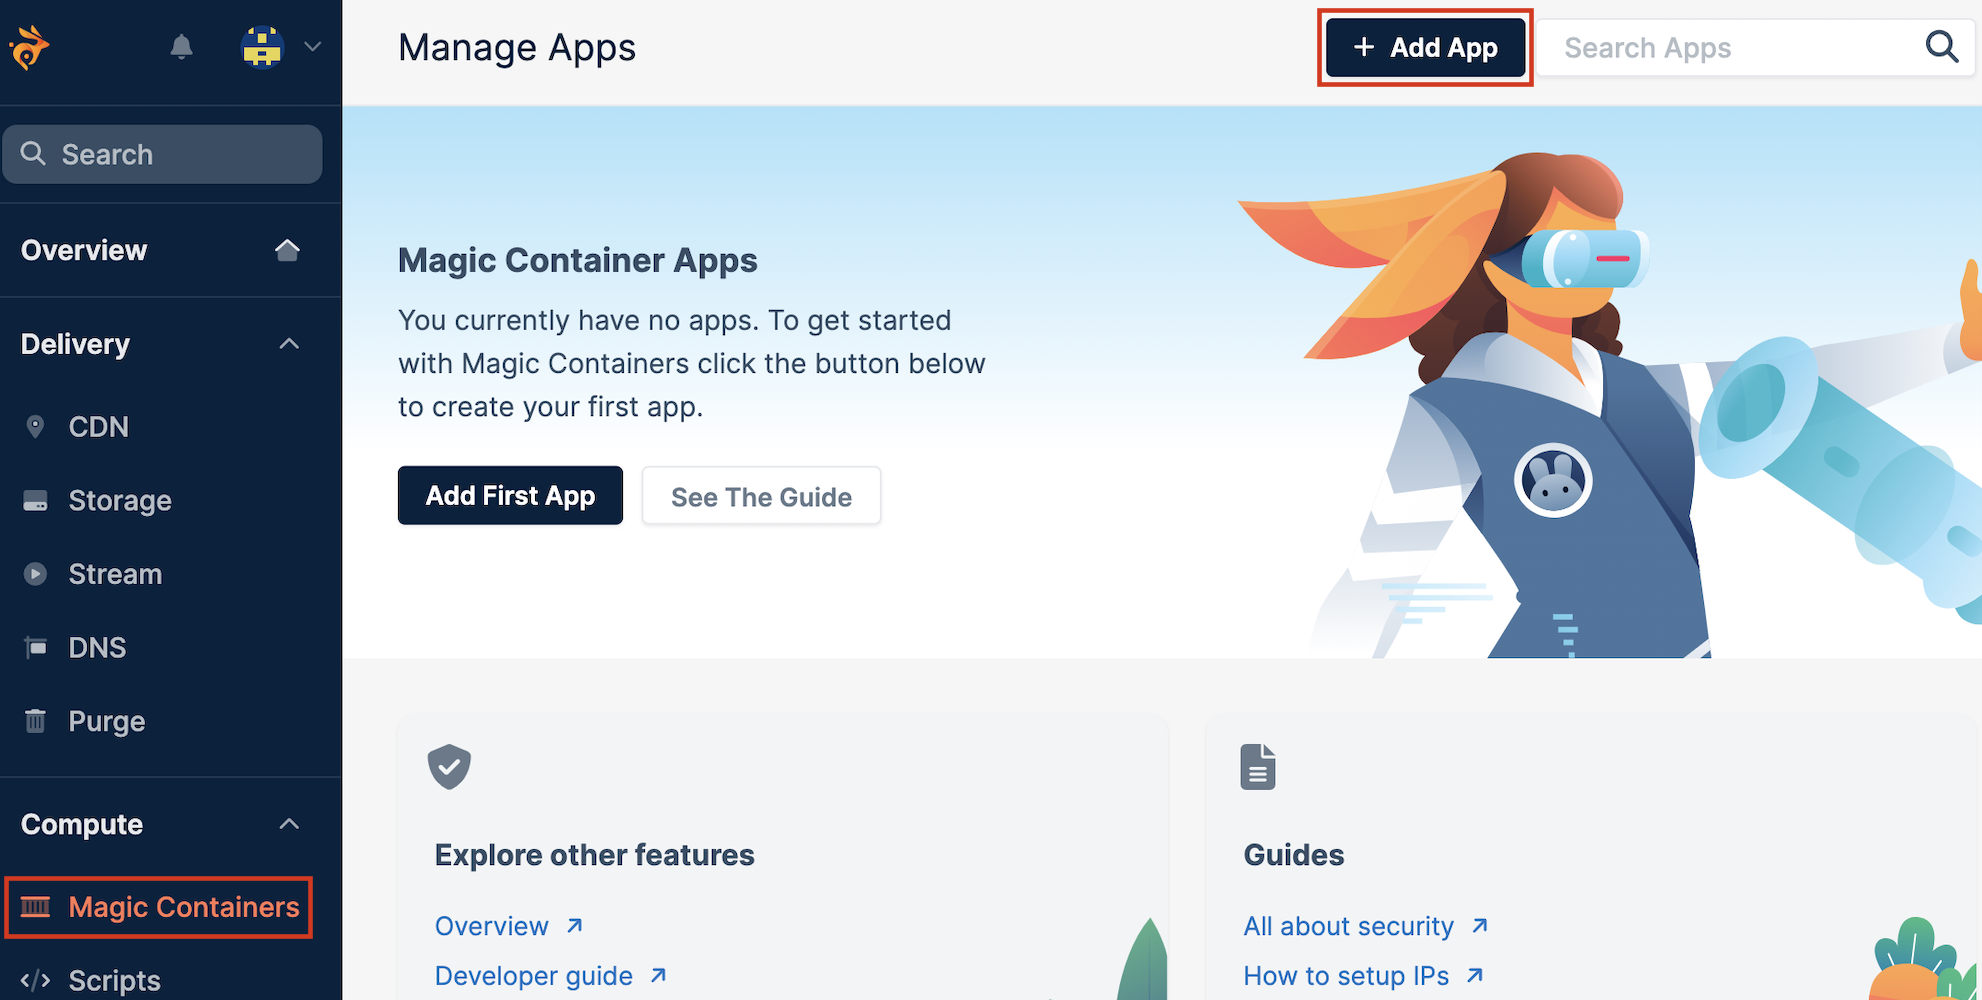
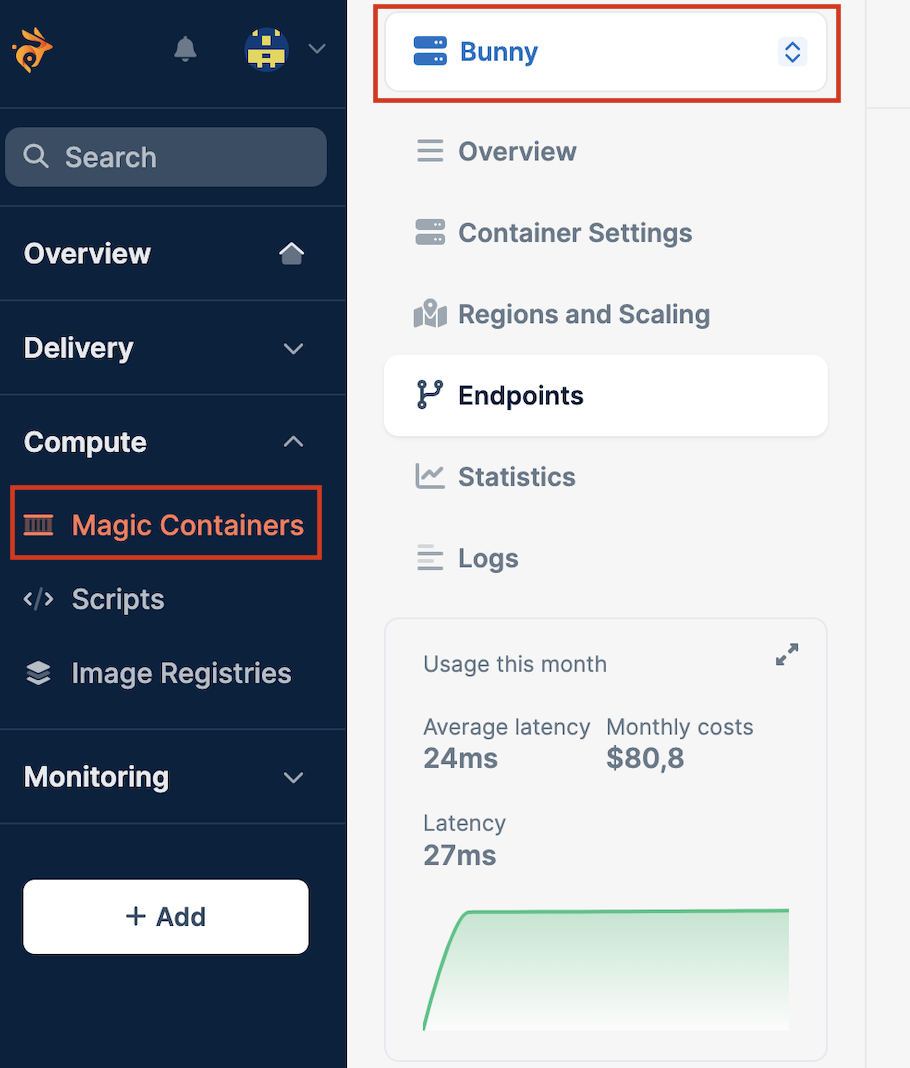
Select Magic Containers and click the Add App button.
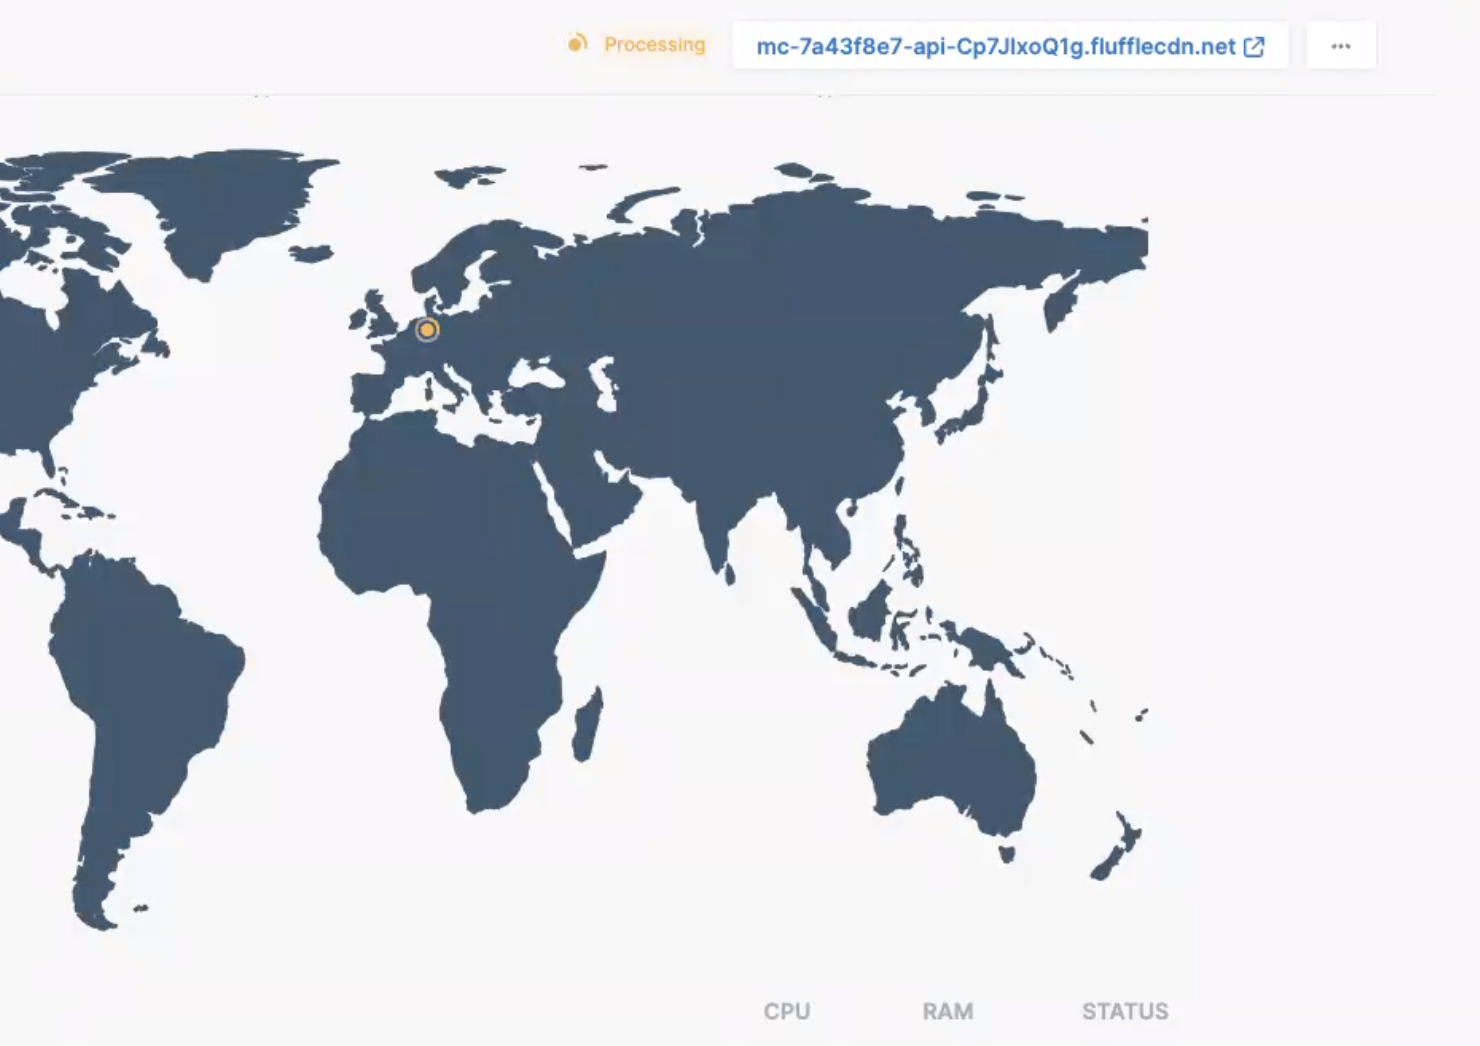
Magic deployment

Screenshot 2025-10-02 103659.jpg
Magic deployment is the simplest way to get your app up and running. It leverages the power of Magic Containers AI to handle global provisioning efficiently and cost-effectively.
Magic Containers AI will automatically analyze your app's requirements, determine the optimal deployment regions, and provision your app globally in just a few clicks. This approach ensures the best possible performance while minimizing costs.

NOTE : For a detailed guide on deploying an app using the Magic deployment option, please refer to the quickstart documentation.

Single and advanced deployment

Screenshot 2025-10-02 103724.jpg
Single region deployment allows you to quickly select a single region to deploy from a list of available locations.
Advanced deployment gives you full control over provisioning settings, allowing you to customize the deployment regions and react to user activity. This level of customization is ideal for scenarios where you have specific geographical requirements or want to optimize your deployment strategy based on user behavior.
After Selecting Advanced the first step is to configure Region Settings.
You will be presented with a list of all available regions. For each region, you can set whether it is a base region or a standard region:
  • Base region: Base regions are those where your app will always be deployed. You must select at least one base region and there is no maximum limit.
  • Enabled region: The provisioning system will actively monitor user locations and behavior. If it identifies active users in a specific region, it will dynamically deploy the app to accomodate the user traffic. Conversely, if there is no user activity in a region, the app will not be deployed in that area.
Based on your settings, the provisioner will react to user activity as follows:
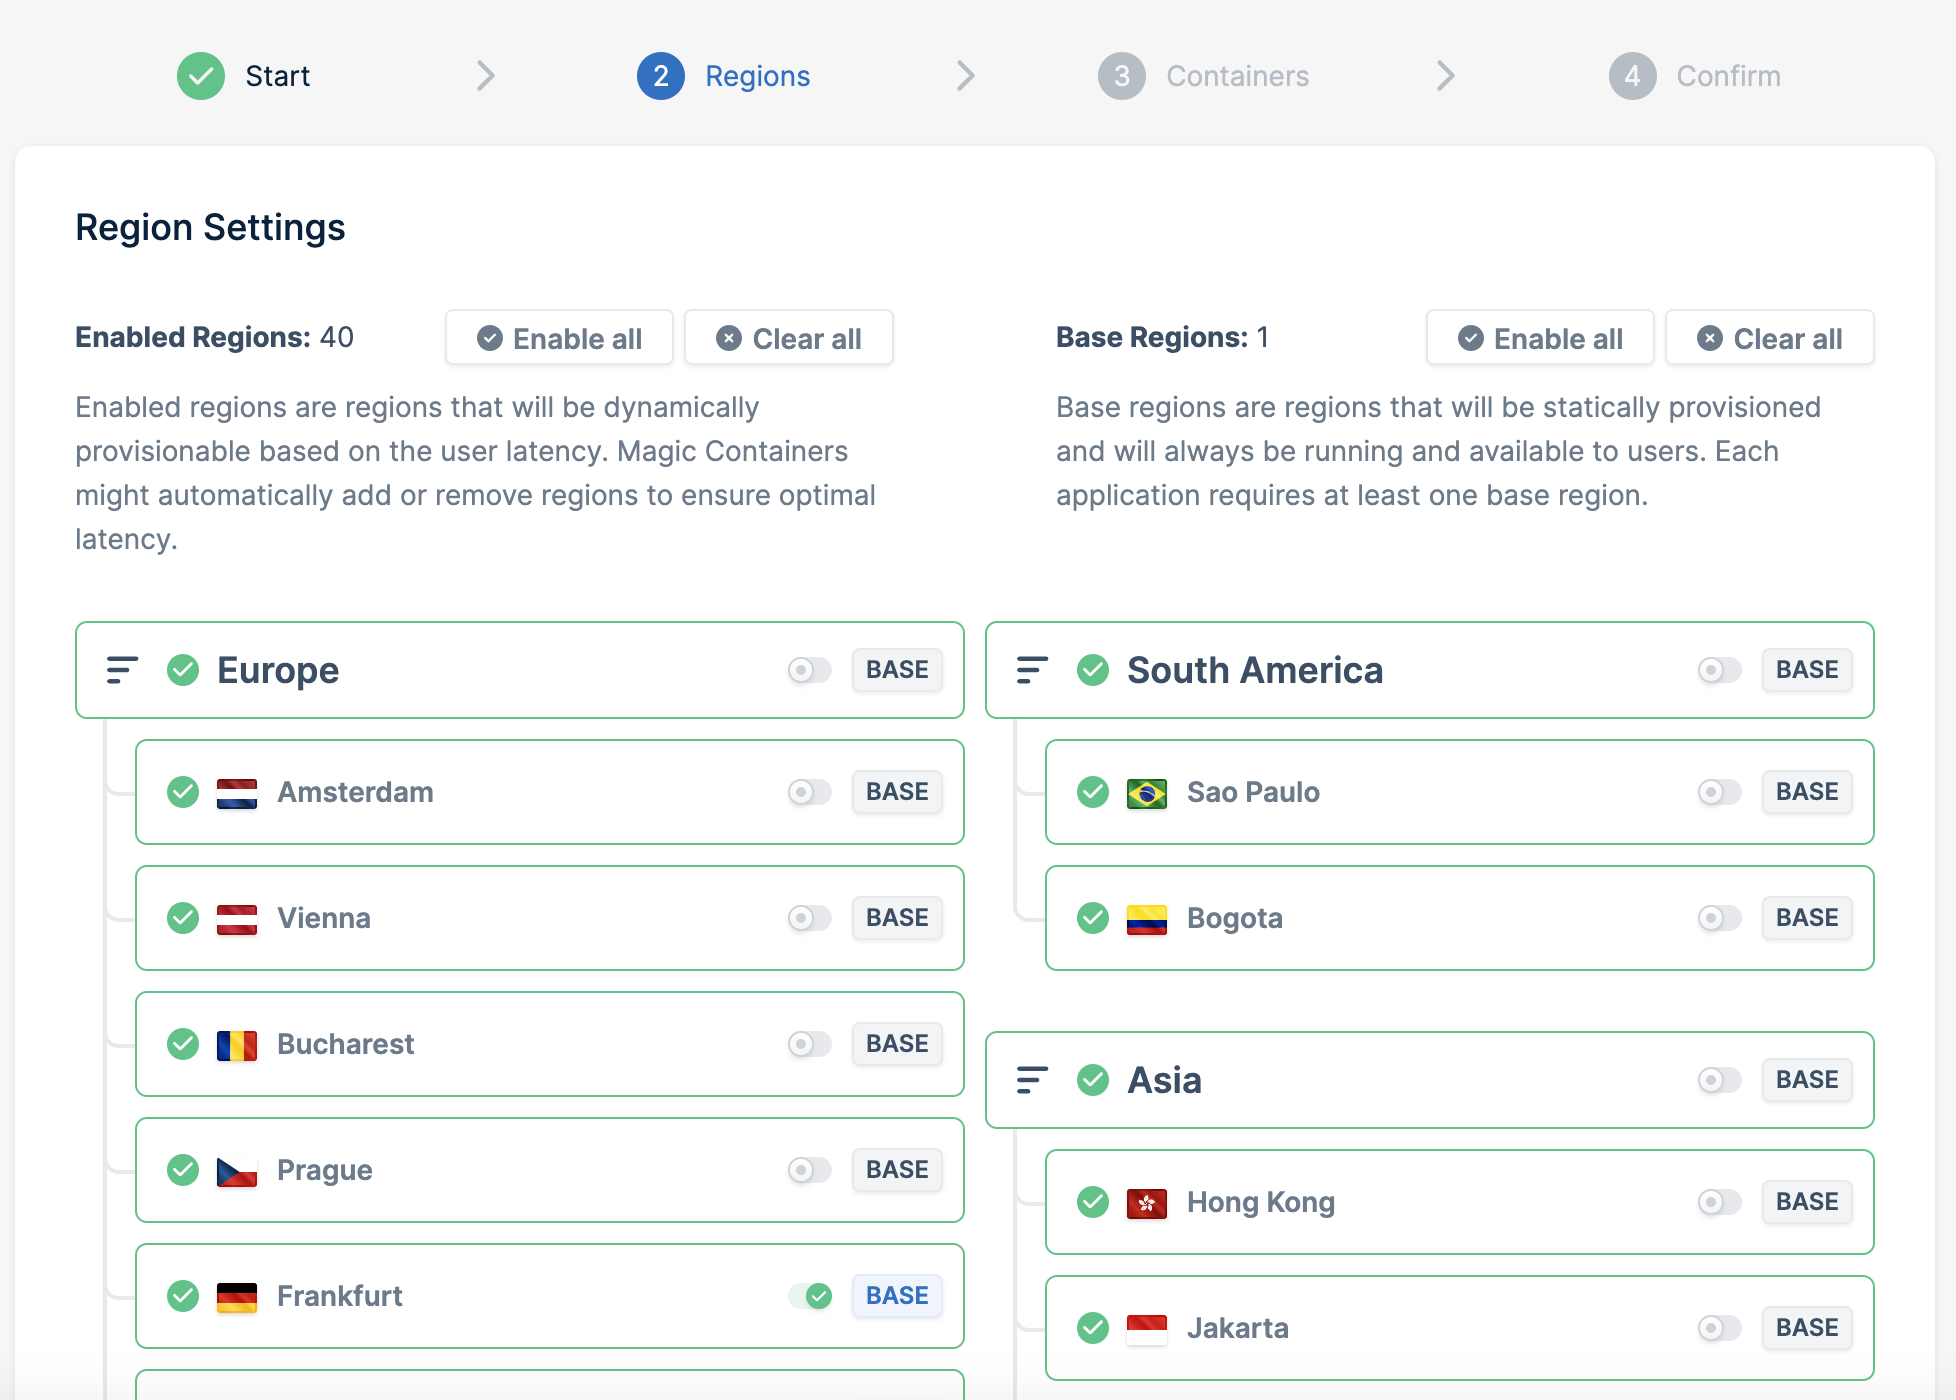
  • If the Enabled Regions Set and Base Region Set are equal, the provisioner will use Static Provisioning. In this mode, the regions deployed over time will remain the same.
  • If the sets are different, the provisioner will use Auto Provisioning. Regions are chosen based on end-user activity. If users are active in a region, the app will be deployed there. If there are no active users in a region, the app won't be deployed.
After configuring the region settings, click Next Step.

Set the minimum and maximum number of instances, and click Add Container.

Screenshot 2025-10-02 104501.jpg

6. Name your container (ensure each container has a unique name within the application).

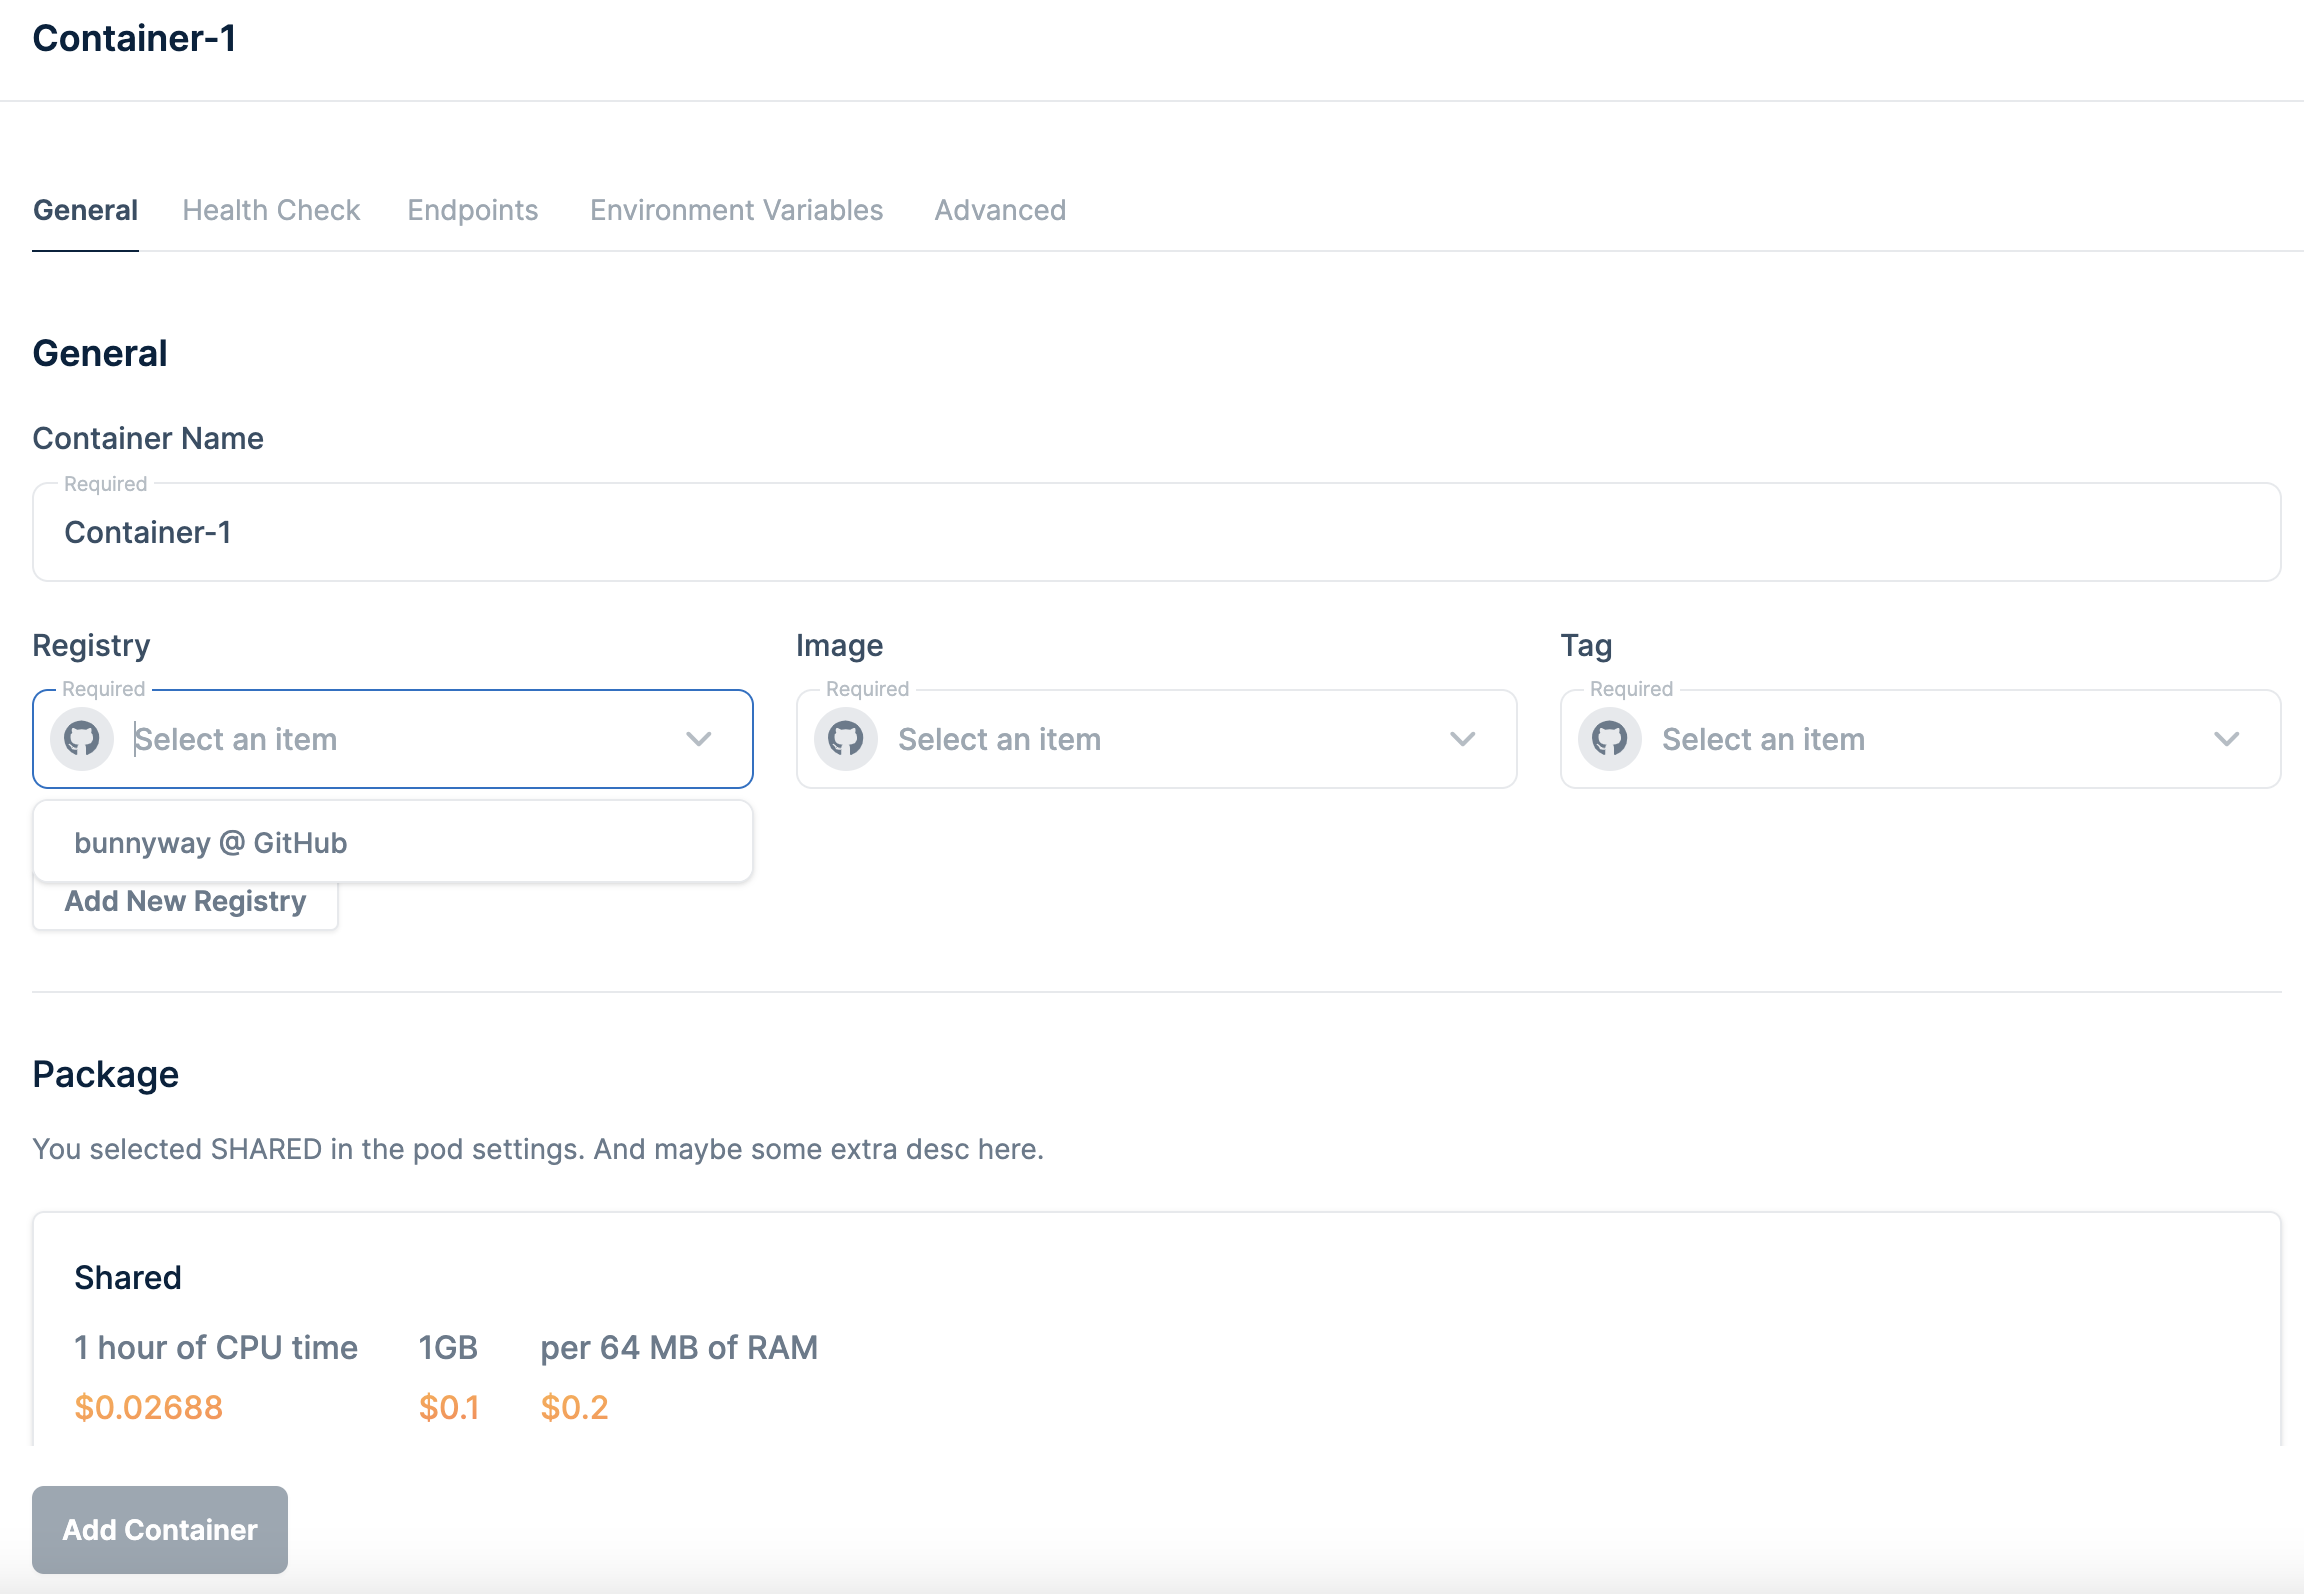
Select the container registry and image and click Add Container.

If you want your app to be available on the internet, you need to set up edge endpoints:

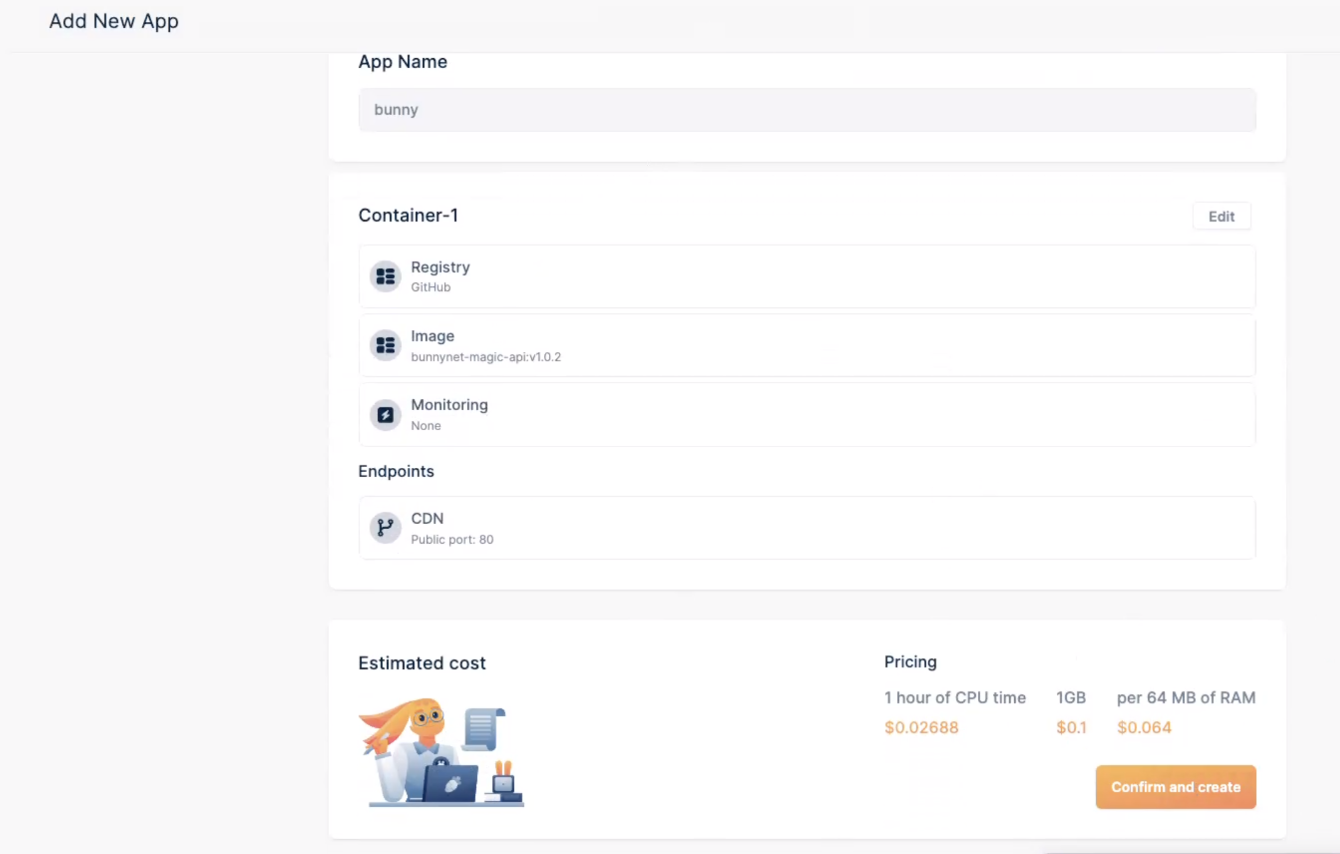
1. Go to the Endpoints tab and click Add New Endpoint.

Screenshot 2025-10-02 104627.jpg
  • You need to name the endpoint (it must have a unique name).
  • Decide how you want to expose the app, either using CDN or Anycast.
NOTE: To learn more about CDN or Anycast, see our CDN and Anycast documentation.
  • Define the container port, which is the port on which the application is listening inside the container.
  • Specify whether your application inside the container uses SSL for origin (only CDN setting).
2. Click Confirm And Add, and then click Add Container.
3. Review your settings. If everything looks good, click Confirm and Create.
You will be navigated to the overview screen of your app. The processing button should turn green, indicating that your app is being deployed.
Congratulations! Your application is now deployed and can be accessed by clicking here:
The provisioner will take your region settings into account and deploy your app accordingly.
With the Advanced option, you have the flexibility to tailor your app's deployment strategy to your specific needs, ensuring that it aligns with your user base and geographical requirements.

Undeploying your app

To undeploy your app, follow the steps below:

1. Select Magic Containers and select your app from the dropdown menu.

2. Click on the hamburger menu icon (three horizontal dots) on the right side of the screen and click the Undeploy button.

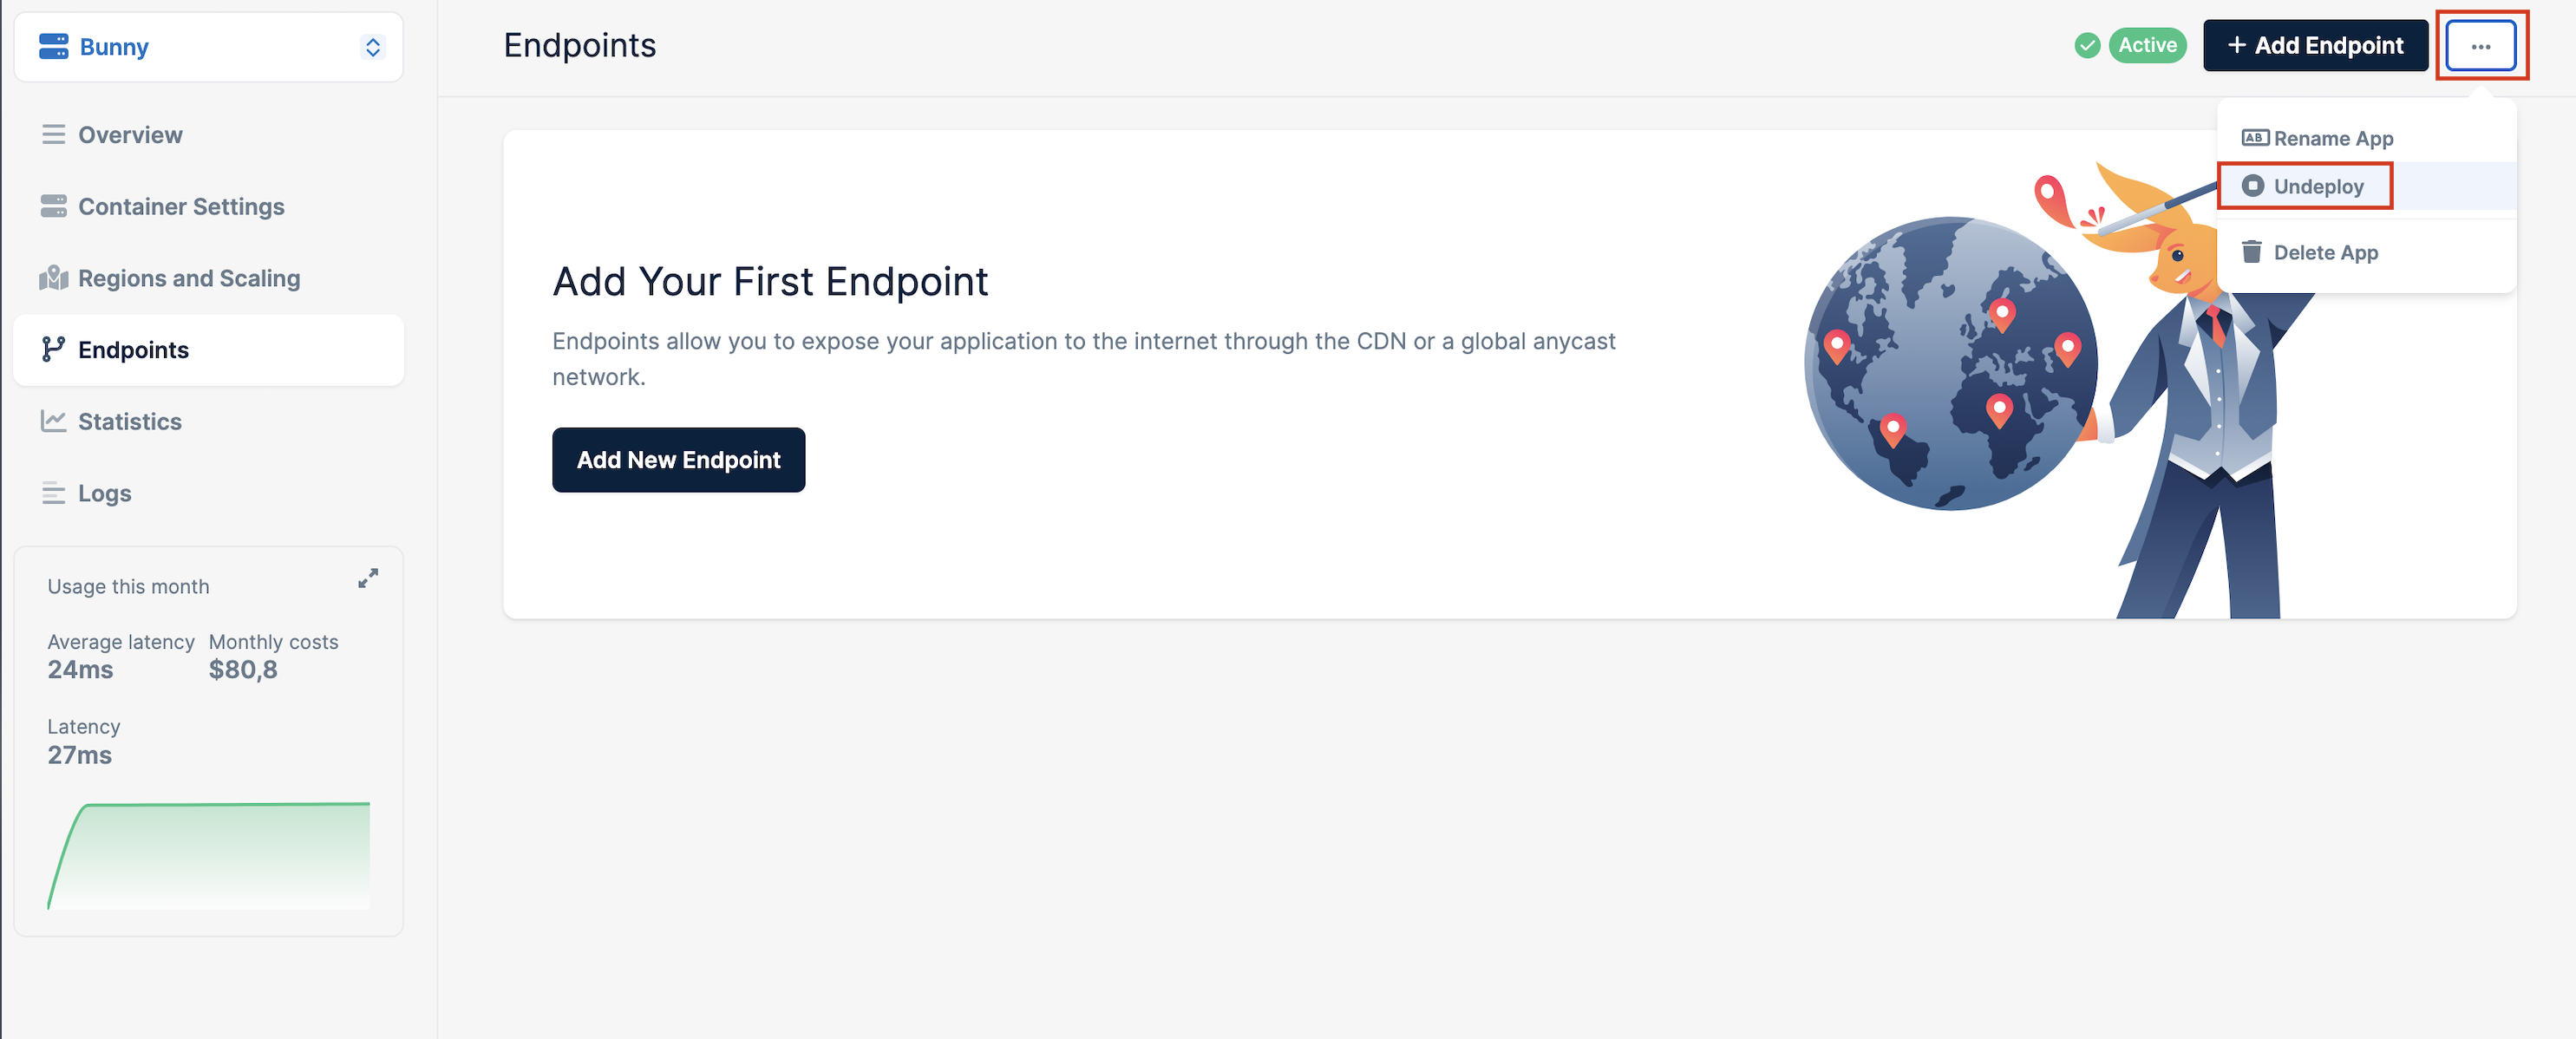
3. In the pop-up window, click the Undeploy button to confirm.

Need help or encountered issues?

If you encounter any difficulties or have questions while following this guide, our support team is here to assist you. Please don't hesitate to contact us via the support request form for prompt assistance.
Our dedicated support team is ready to help you resolve any issues you might face during the deployment process, provide additional guidance, or answer your questions.

Table of Contents

Was this article helpful?
1 out of 2 found this helpful