What you'll need
- A bunny.net account (Log in or sign up for a free trial license).
- Ensure that you have already set up the application you want to configure. See our Quickstart guide if you haven't set up an application yet.
CDN configuration
Configuration steps
1. Log in to your bunny.net account.
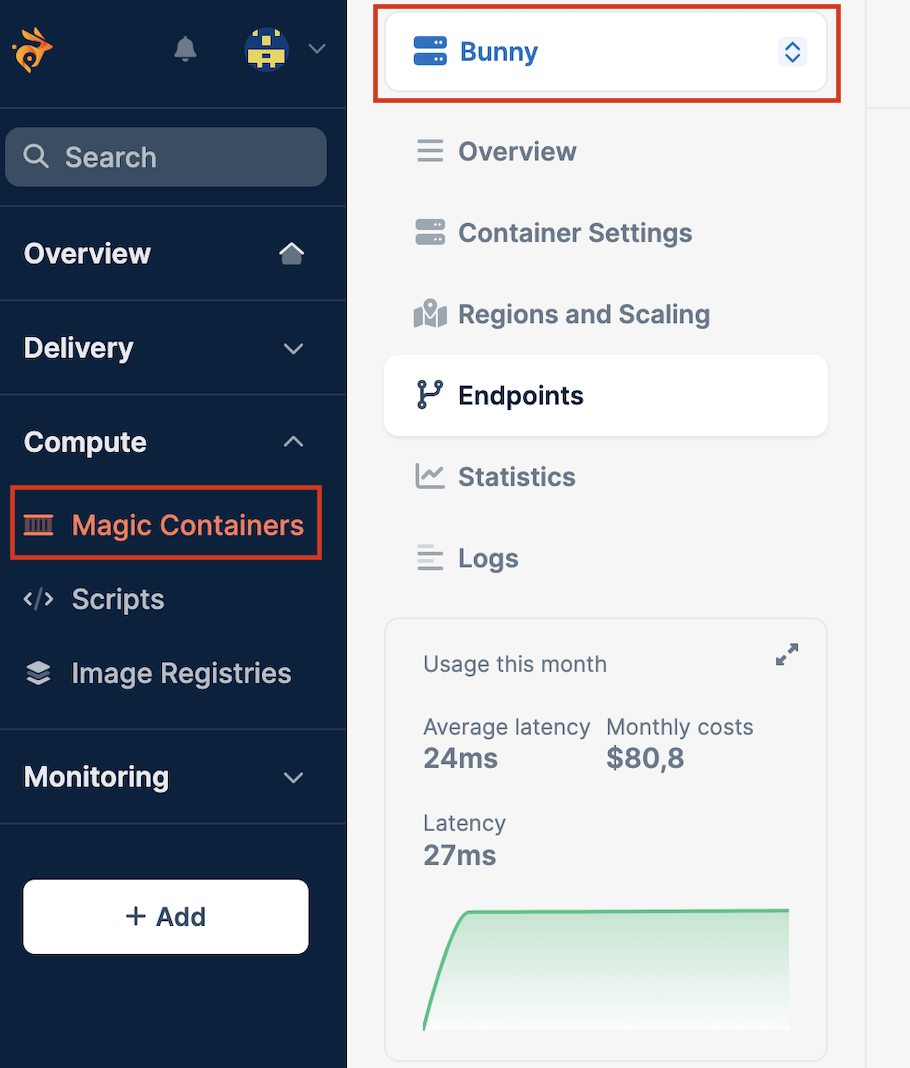
2. Navigate to the Magic Containers section and select the app from the dropdown menu you want to modify.
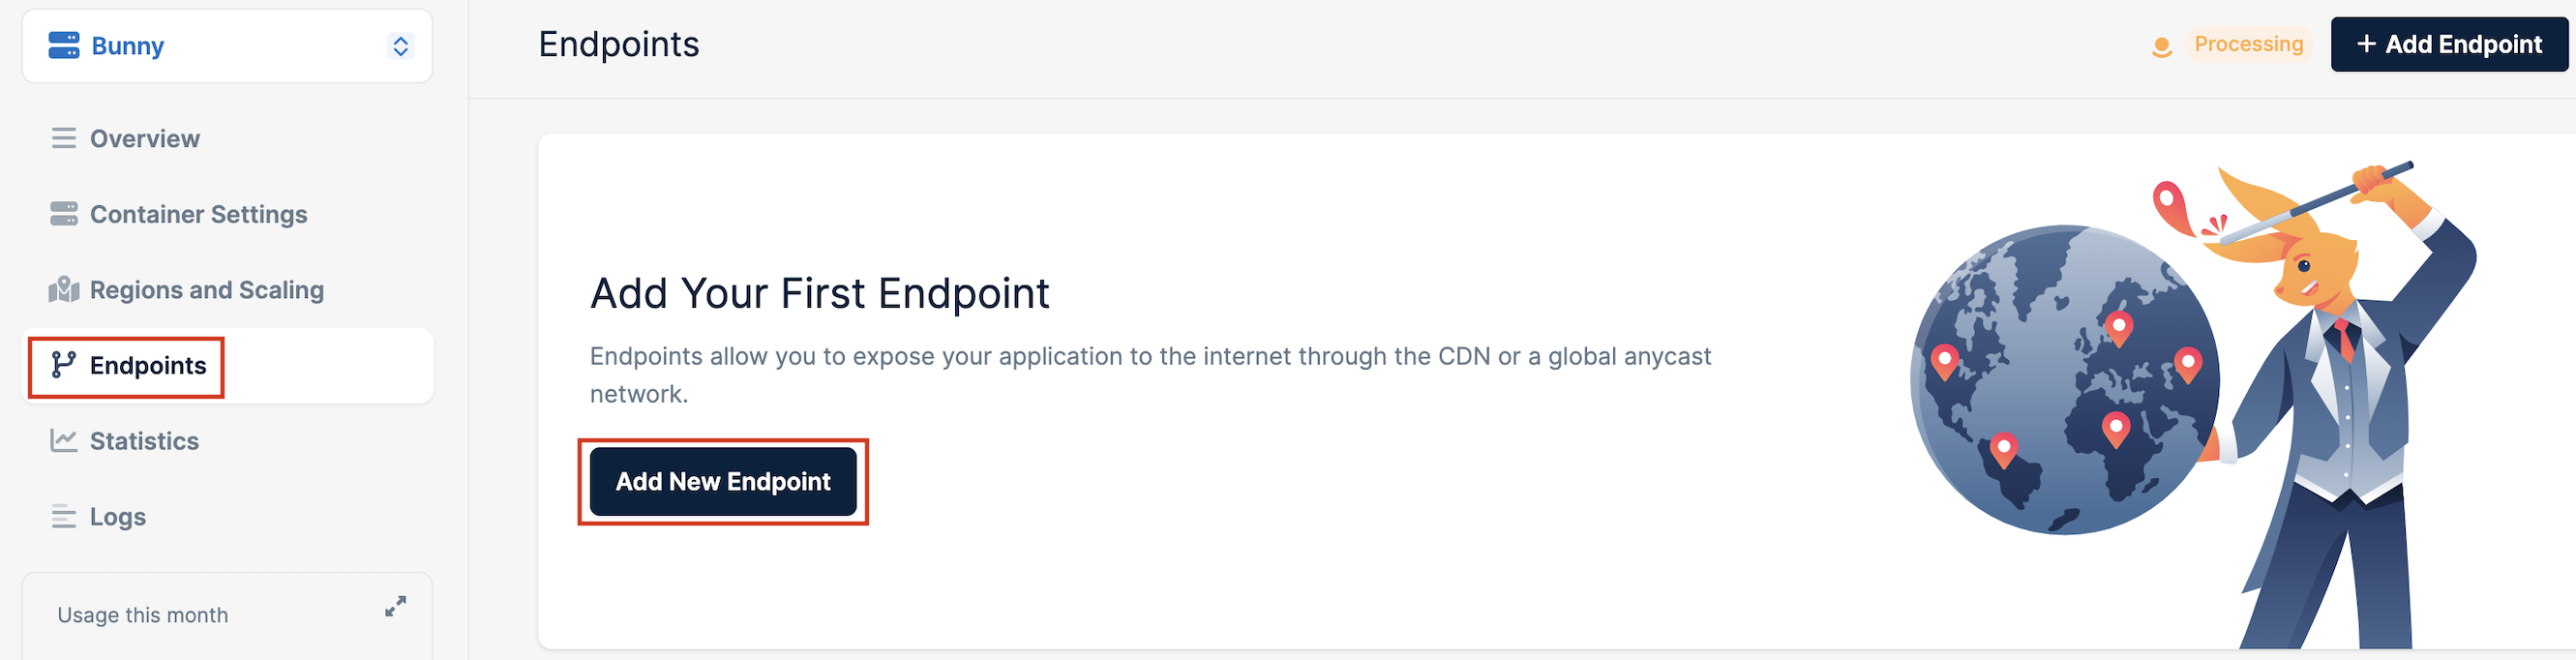
3. Click on Endpoints and Add New Endpoint.
4. Select CDN under the type.
- You need to name the endpoint (it must have a unique name).
- Specify the container port for every container.
- Specify whether your application inside the container uses SSL for origin (this feature is only applicable for CDN).
Anycast configuration
Configuration Steps
1. Log in to your bunny.net account.
2. Navigate to the Magic Containers section and select the app from the dropdown menu you want to modify.
3. Click on Endpoints and Add New Endpoint.
4. Select Anycast under the type.
- You need to name the endpoint (it must have a unique name).
- Specify the Container Port for every container.
- Define the Exposed Port, which is the port on which the application will be available on the Anycast IP.
- When Anycast is selected, the platform will associate an Anycast IP. Specify the container port within the container and the exposed port to be used in combination with the Anycast IP to expose the application.
Need help or encountered issues?
If you encounter any difficulties or have questions while following this guide, our support team is here to assist you. Please don't hesitate to contact us via the support request form for prompt assistance.
Our dedicated support team is ready to help you resolve any issues you might face during the deployment process, provide additional guidance, or answer your questions.