What you'll need
- A bunny.net account (Log in or sign up for a free trial).
- Ensure you have already set up the container for which you want to configure health checks. See our Quickstart guide if you haven't set up a container yet.
Accessing health checks
1. Login to bunny.net Dashboard.
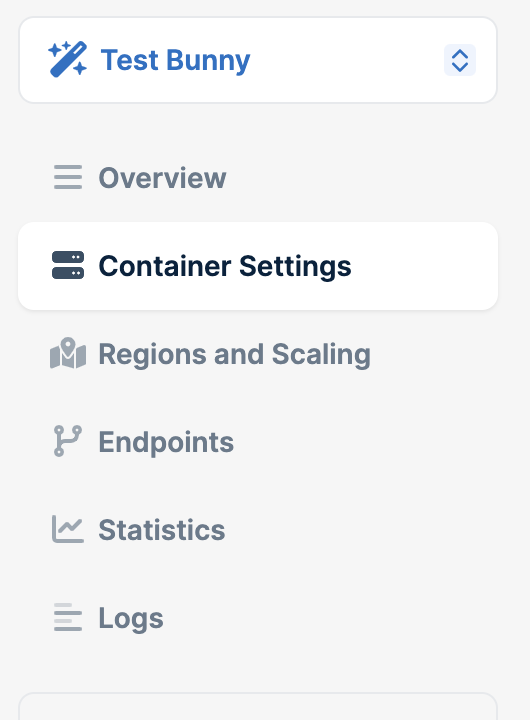
2. Click Magic Containers and locate the container you want to configure health checks.
3. Click on Container Settings.
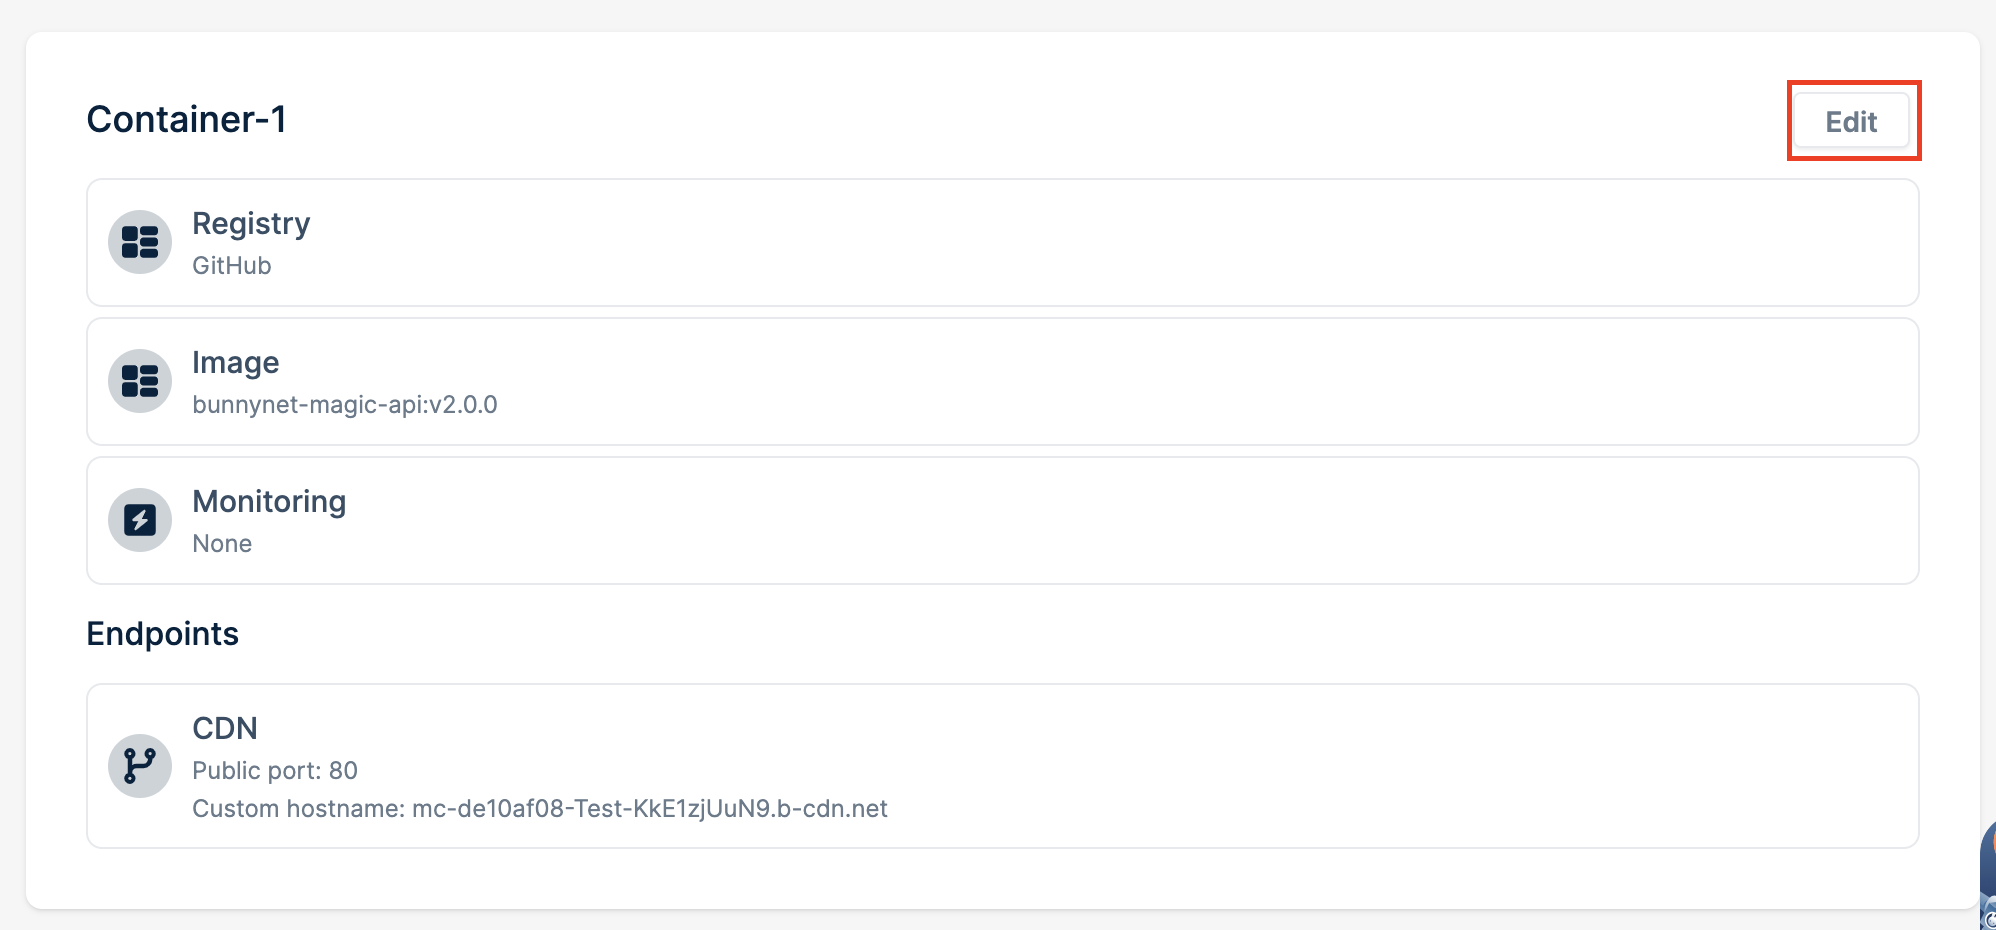
4. Click the Edit button.
5. In the Container Settings menu, navigate to the Health Check tab.
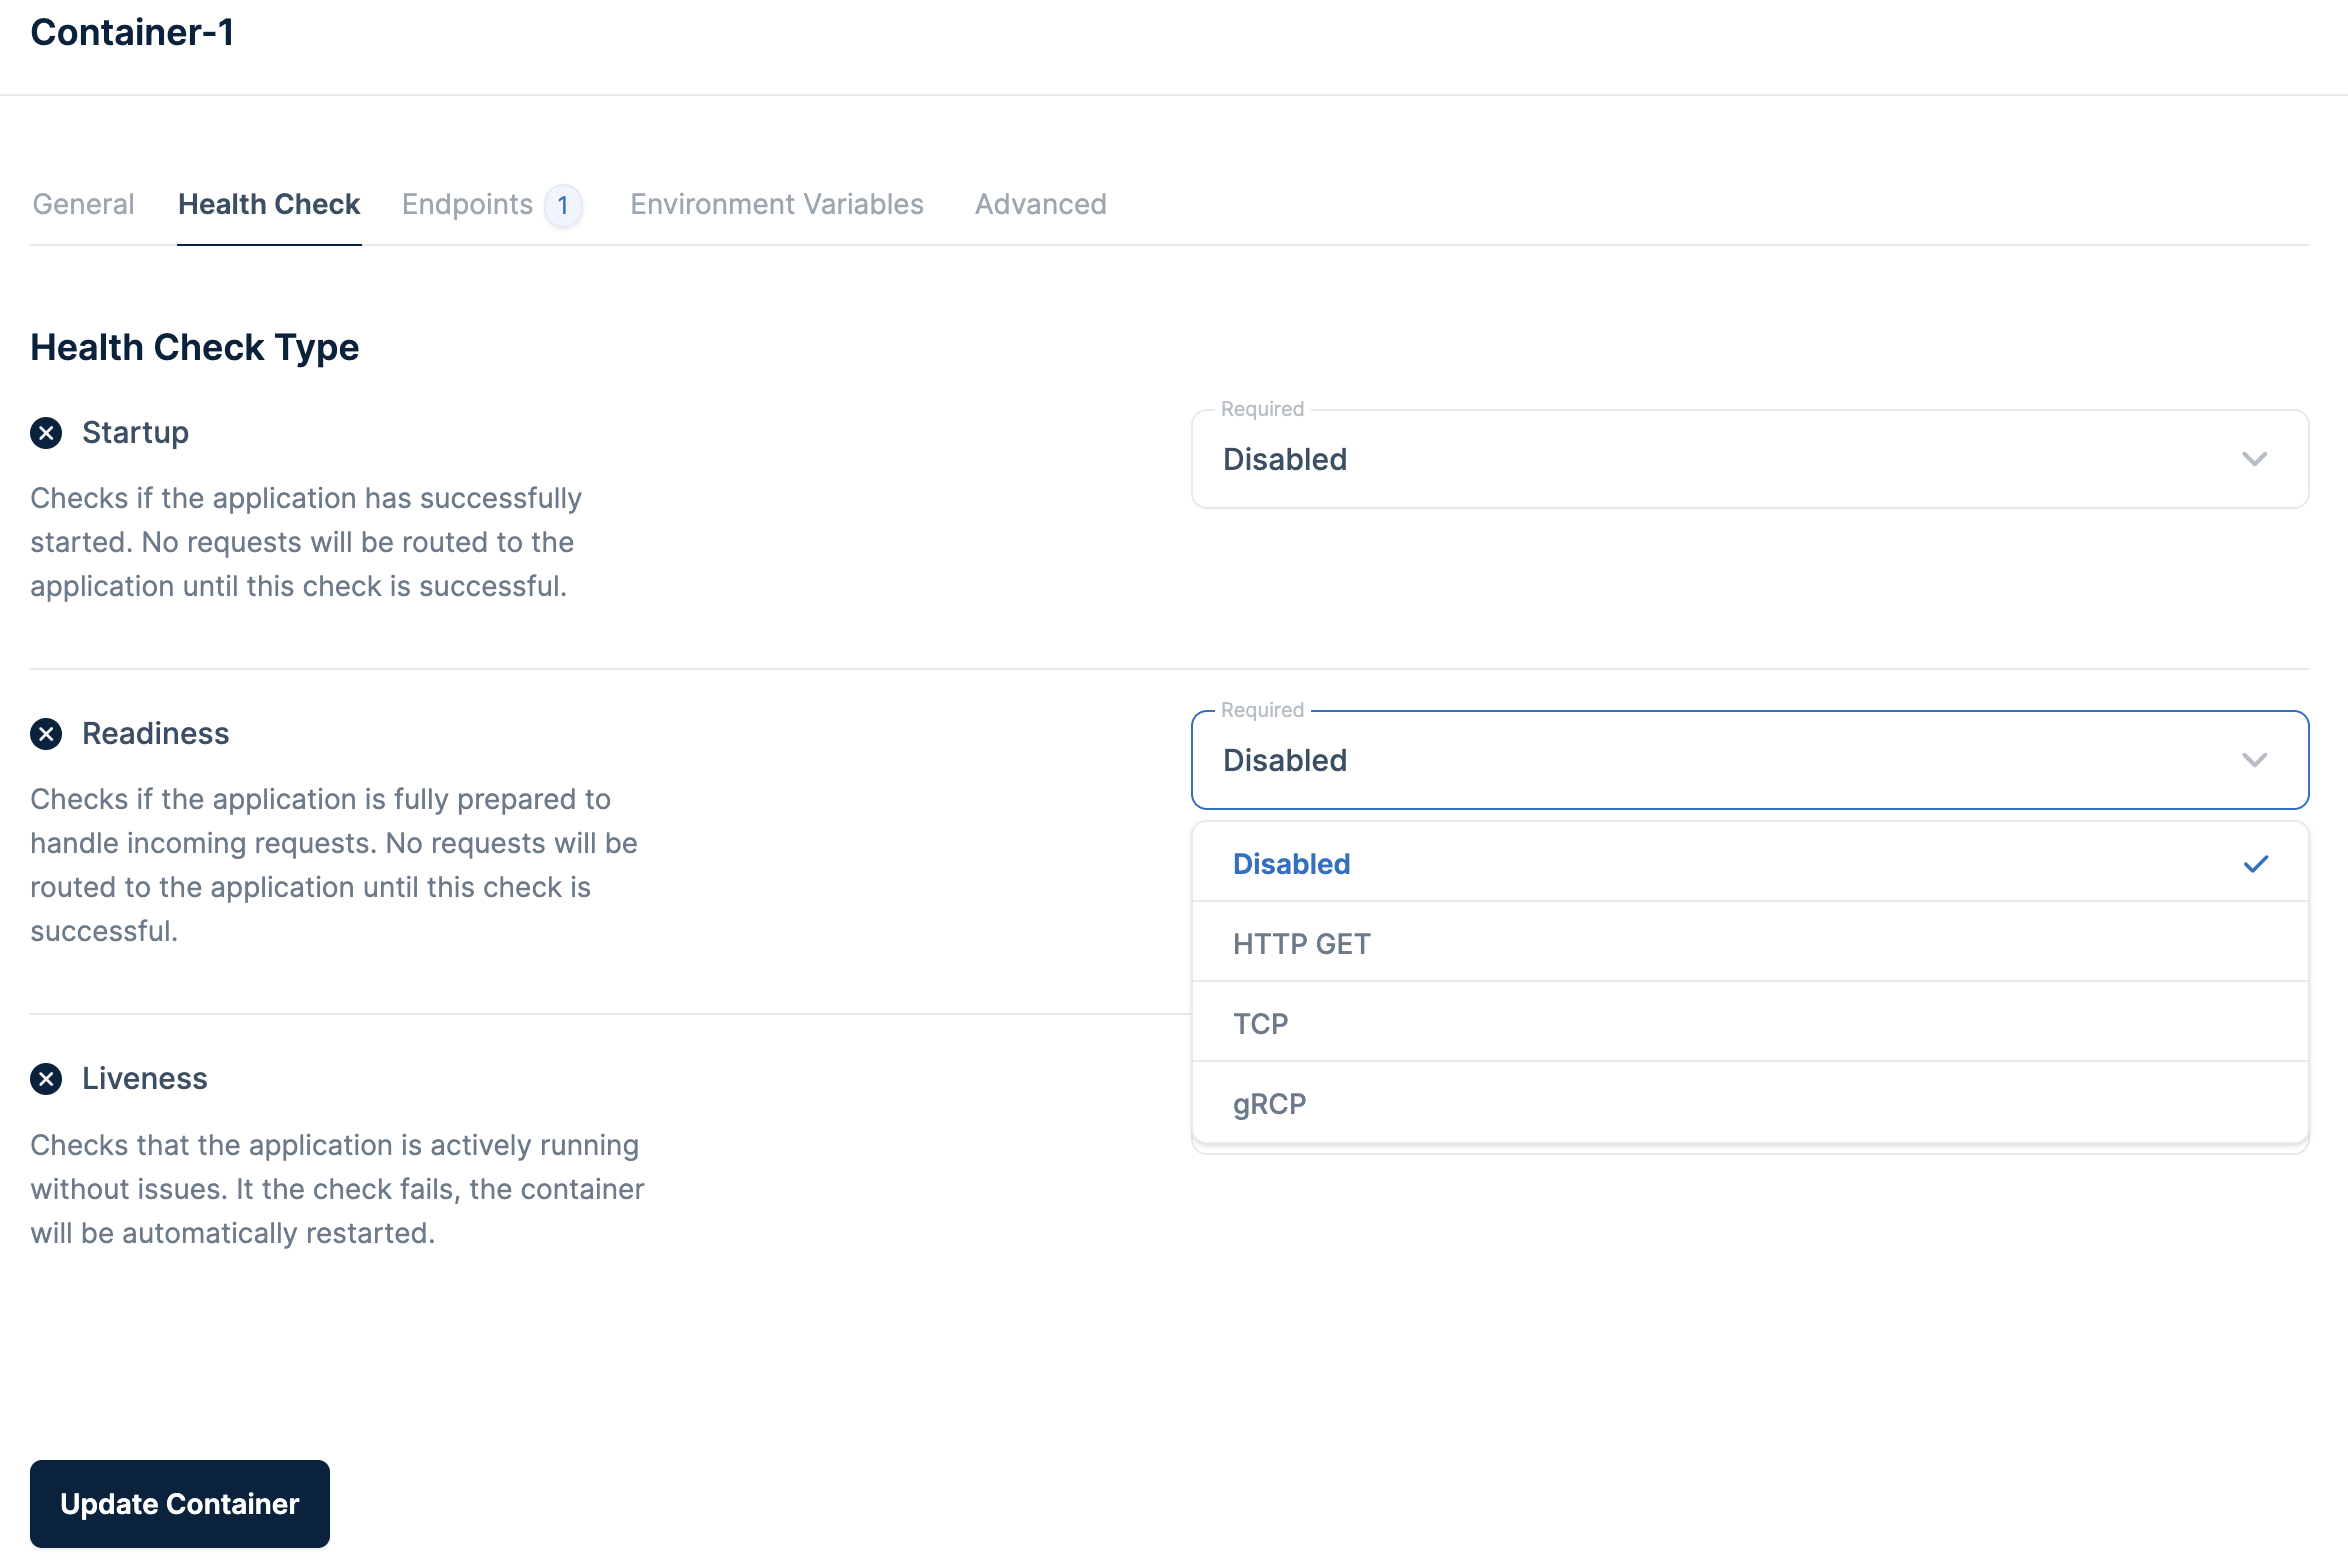
Health check types
- Startup - Verifies if the application has successfully started. Until this check is successful, no incoming requests will be routed to the application.
- Readiness- Ensures the application is fully prepared to handle incoming requests. No requests will be routed to the application until this check is successful. We strongly recommend enabling this check to avoid failed requests.
- Liveness - This check confirms that the application is actively running without problems.
Enabling health checks
1. For each type of health check (Startup, Readiness, and Liveness), simply click the checkbox to enable it. Enabling these checks is essential to benefit from their functionality.
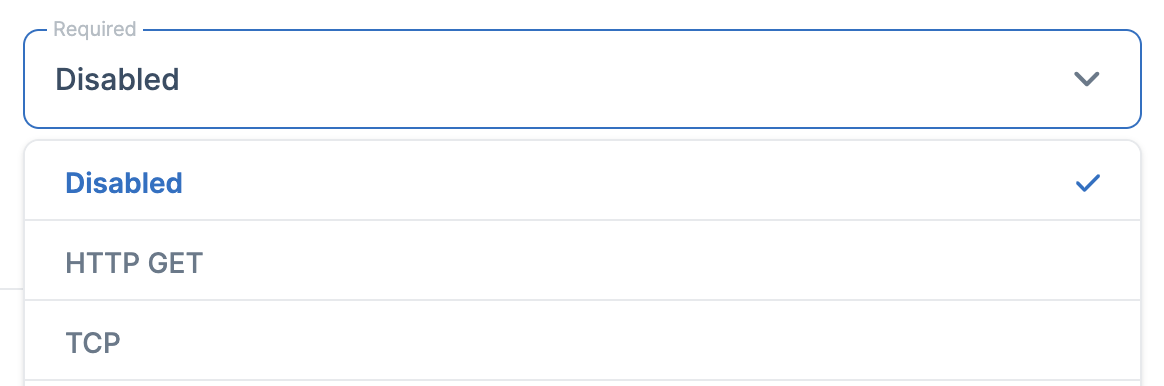
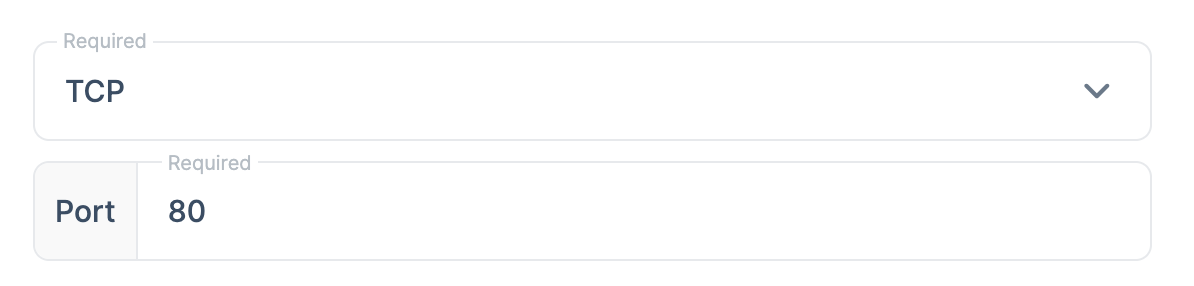
2. From the dropdown under Required field you can select two configuration methods: HTTP GET and TCP.
For the HTTP GET method, provide the path for the HTTP GET request. The path should be properly formatted.

For the TCP method you only have to specify the port to be used for the TCP health check. This port should correspond to the container where your application is hosted.
Need help or encountered issues?
If you encounter any difficulties or have questions while following this guide, our support team is here to assist you. Please don't hesitate to contact us via the support request form for prompt assistance.
Our dedicated support team is ready to help you resolve any issues you might face during the deployment process, provide additional guidance, or answer your questions.